3 (Toddler-Friendly!) Holiday Crafts Children Can Actually Help With
by Dr. Emily A. Snowden
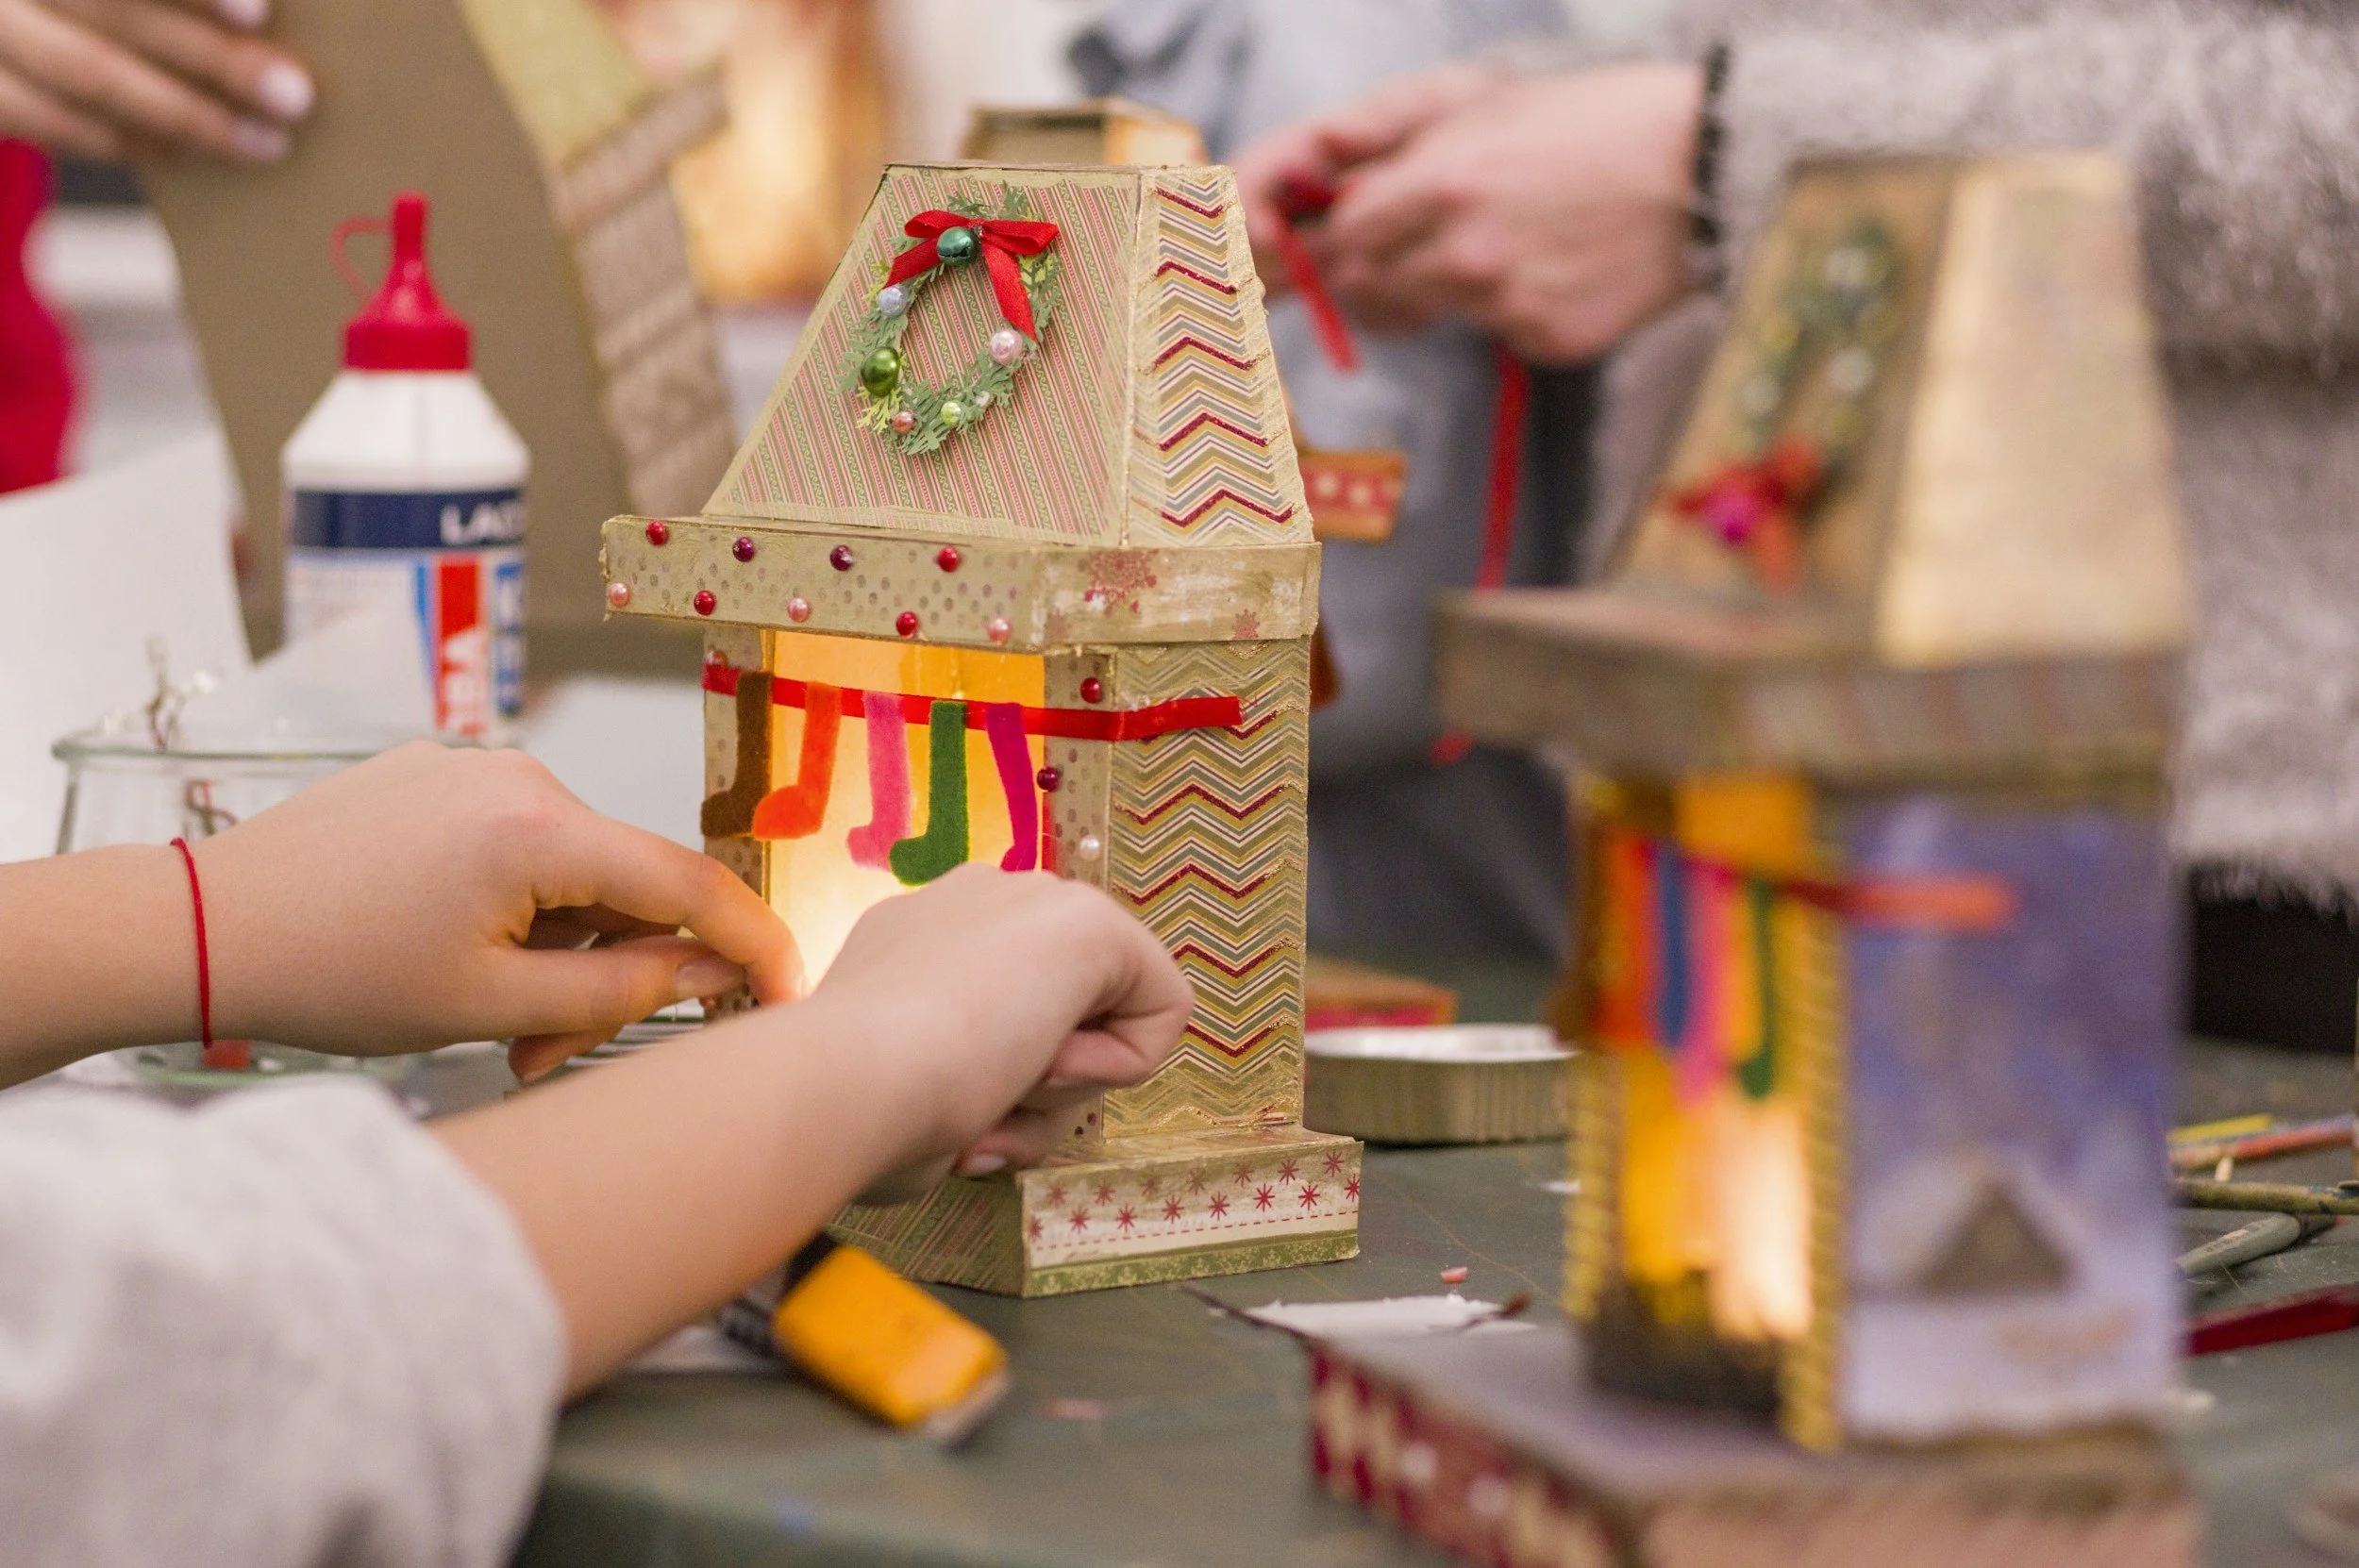
A child decorates a festive fireplace craft.
The holiday season can be a joyous time with young children. Each winter is an opportunity to learn trust, patience, and hope through the cycles of the Earth as we cozy up together and create warmth in the traditions and time we share. Decorations, sweet treats, time together, and a special kind of magic makes the holiday season particularly special for children.
However, the holiday season can also be stressful, costly, and wasteful. When we’re navigating these realities as adults, it makes it hard to stay patient and present enough to “preserve the magic” for our children. This is true in homes as well as in childcare programs.
So, as many of us start breaking down cardboard boxes, let’s talk about some (toddler-friendly!) ways we can repurpose everyday items around the house to stay present, create magic, and honor some ‘ancient’ winter traditions as we craft orange garlands, holiday villages, and wreaths.
Simplified step-by-step instructions are given for each option. Click on a step for more information.
Orange Garlands

Dried oranges on a baking sheet are ready to be strung together.
Oranges are a winter fruit, making them readily available this time of the year. Because their spectacular golden brightness brings sunshine into our winter homes, they have a long history with the season. This is why they have been at the center of many winter traditions and decorations.
Once we slice, dry, and string up oranges, they can be a beautiful and time-honored decoration in our homes. This process is extremely friendly to children and families, and can teach us a unique kind of patience.
-
Aim to make each slice between 1/4 to 1/8 inch thick. You will also want to make each slice as close to the same size as you can, that way they will dry evenly as they bake together.
If you have a child-safe knife, your child can help with this step. If not, you can complete this first step yourself then hand each slice to your child who can complete the next step–patting the slices dry.
-
Once the oranges are slices, you will need to pat them dry to remove excess moisture. Dry one at a time or lay out a dish towel, space the slices evenly, and “sandwich” another towel on top to complete this step. Whatever works for you and your child is great! The idea is just to remove the liquid so they dry out even and bright.
-
Depending on your oven, this may be more like 225℉. If you have the time, space, and patience, try 170℉ for 6-7 hours for more vibrant color.
-
Here’s where our patience comes in–once we get our oranges baking in the oven, we need to flip them about every 45 minutes. If this feels exhausting, think how exciting it is for your child to have a purposeful and predictable task with you on a cycle like this.
As stated above, if you have the time, space, and patience, you can try 170℉ for 6-7 hours for more vibrant color.
You’ll know your oranges are ready when they’re dry but still a bit soft in the middle.
-
When your oranges are ready, string them together and make garlands, suncatchers, or tie off single oranges to make ornaments. The orange slices can also be a beautiful addition to your gift wrapping.
While people typically use twine or fishing line to string the oranges together, you and your child can also use yarn or even thin ribbon.
For more fun, add other ‘trinkets’ like pine cones, beads, cloves, cinnamon sticks, and bows to your garlands.
Holiday Villages
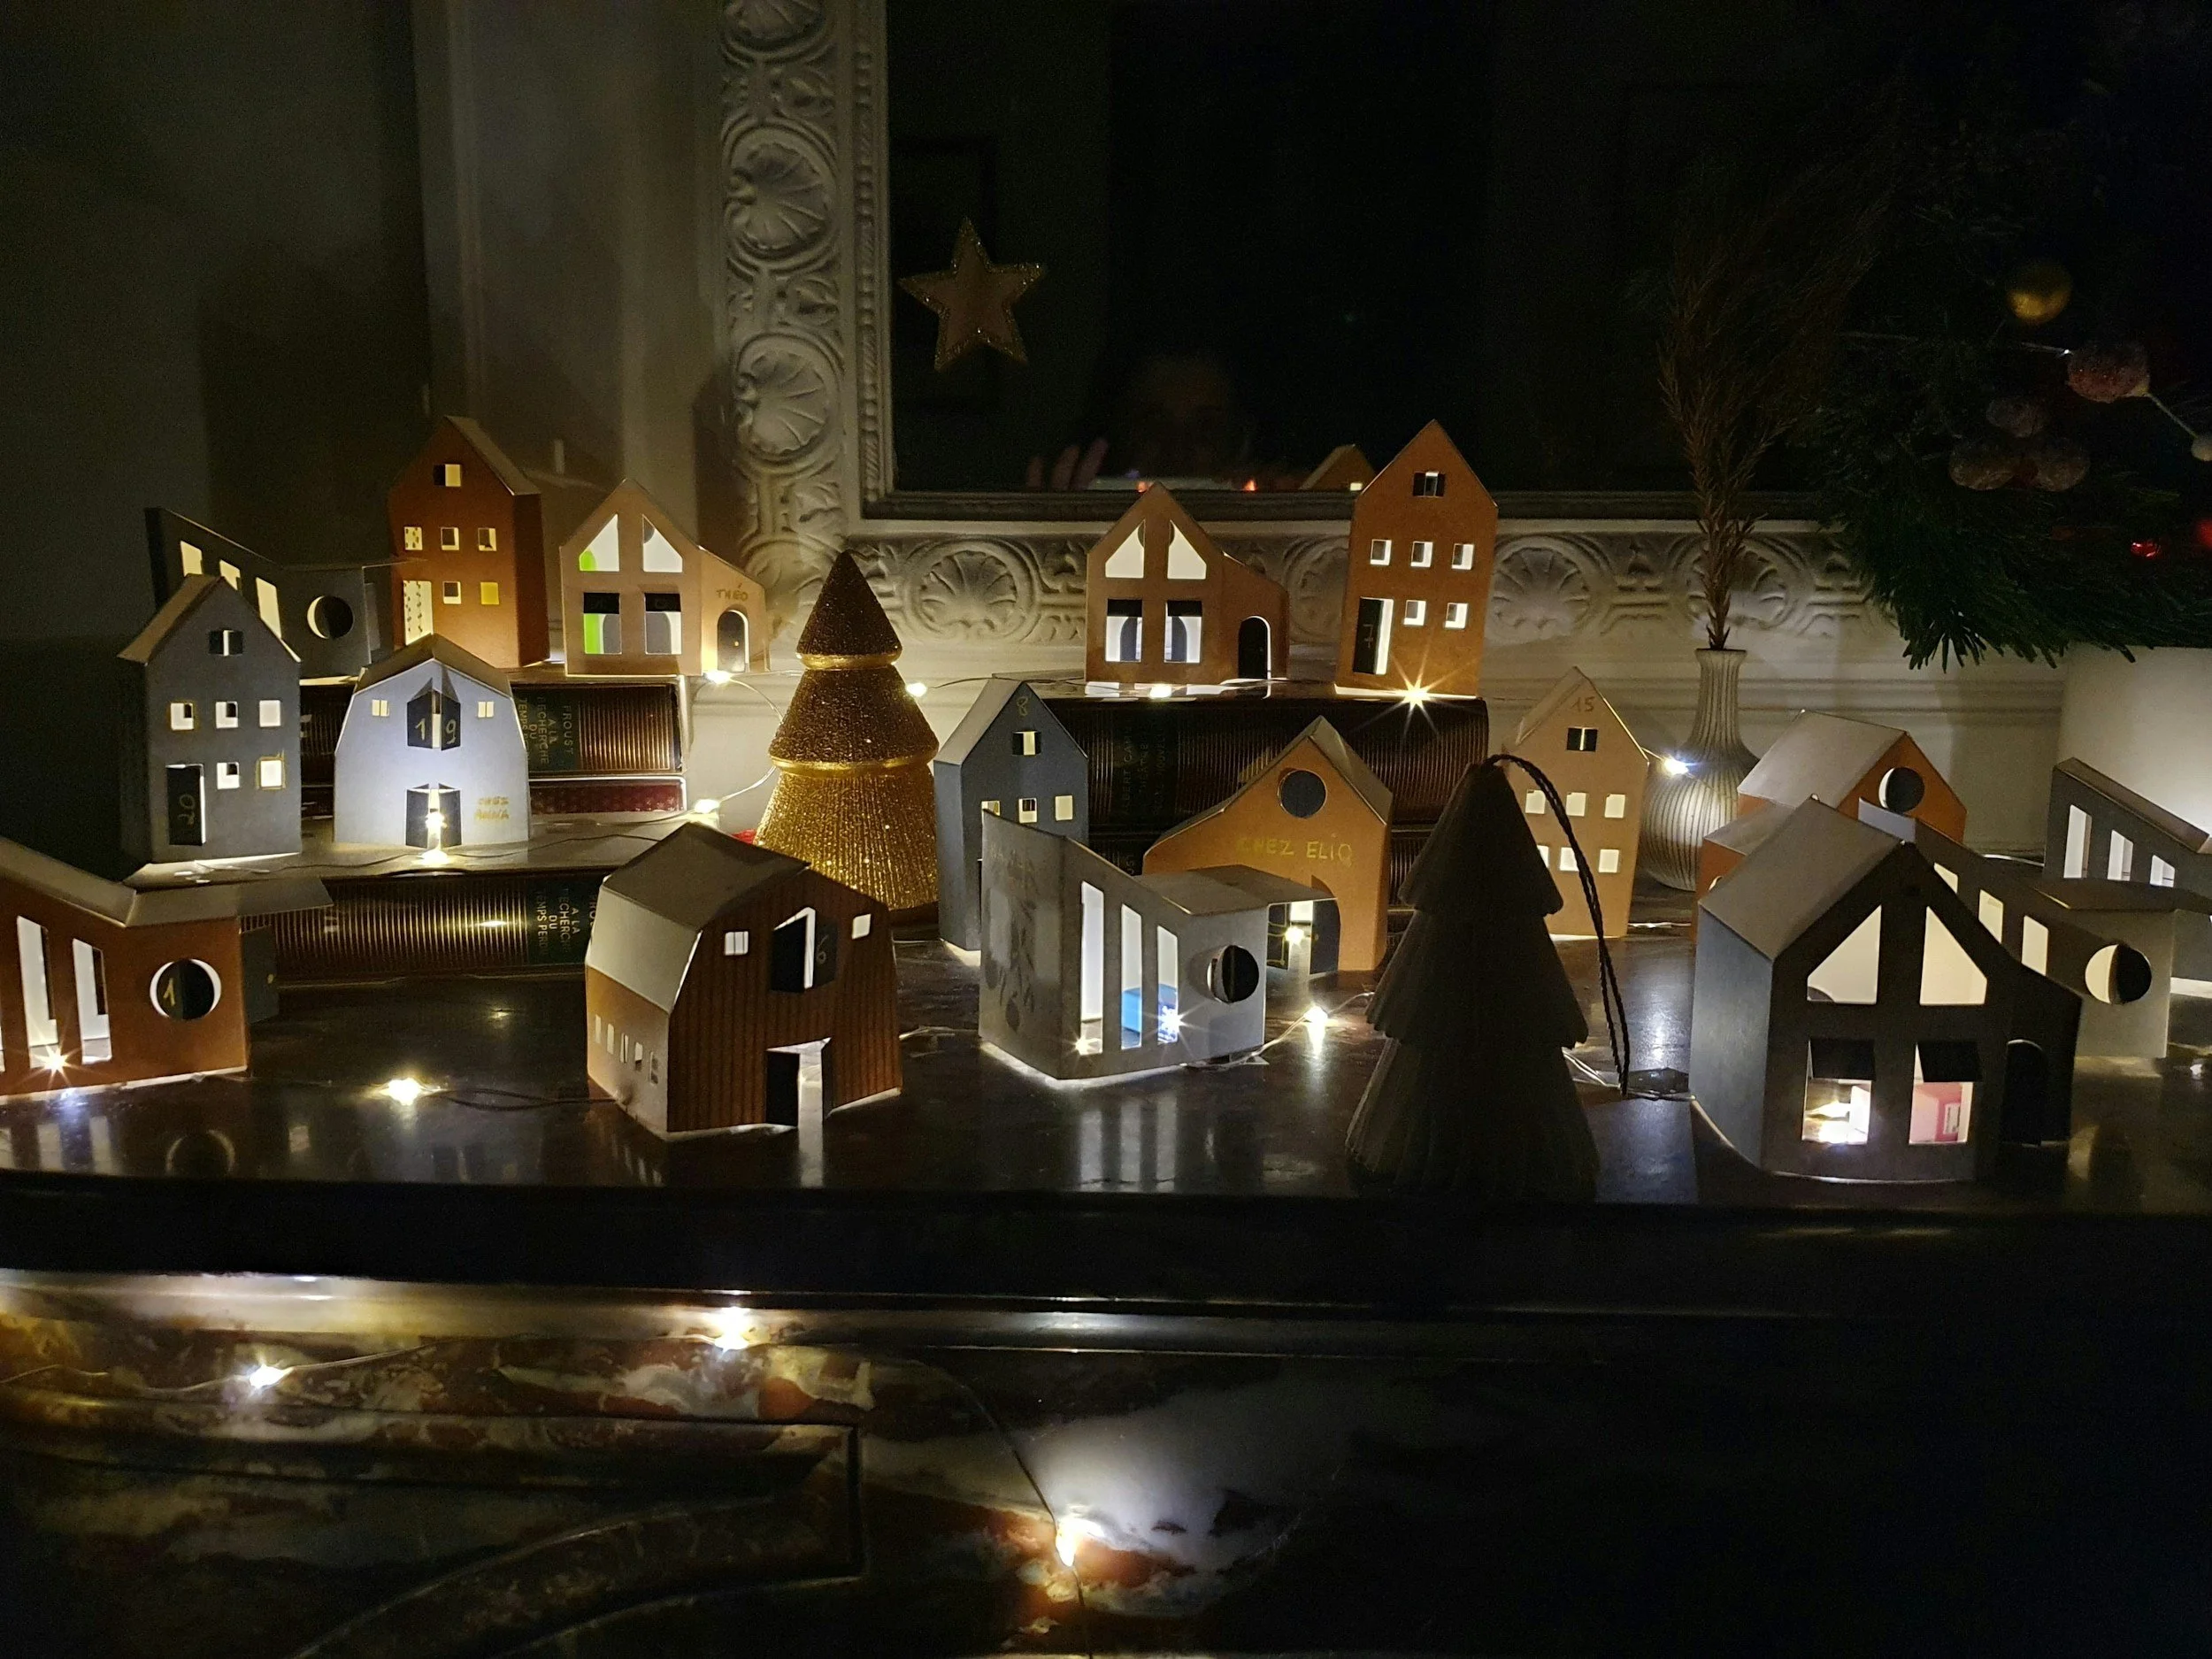
A cardboard “Holiday village” is lit up with twinkle lights.
Create your own “Holiday village” using cardboard boxes. Break down the box and use the full length to make a “Skyline” village, or make three dimensional houses and shops.
Use what you make as a decoration or put it somewhere your child can reach and play with throughout the season.
-
If you want a village skyline, leave the box in one flat piece. If you want to create a 3D village, you might want to break the pieces of the box apart so you can start cutting them down to the size you need for your floor, walls, and ceiling.
-
If you’re making a skyline, you’ll want to trace the outline of each roof and cut it out in one long piece (you can also make more than one and cut them to the size you want). Keep your “skyline” flat, or score the back to “zig zag” the buildings and create dimension.
If you’re making 3D buildings, your task will be a bit more tricky here but can be truly fun to plan and figure out together! With this approach, it’s best to use more sturdy cardboard as the base and more ‘flimsy’ boxes for the top pieces (e.g., a cereal box).
Once you glue each ‘structure’ together, it’s likely you’ll need to wait until the next day to start decorating.
-
This is where we can really have some fun and express ourselves. It’s also particularly fun when all the family members in the household (or children and staff in the classroom!) personalize at least one building or home in the village.
Plain white paint looking like snow is great. However, don’t shy away from color as you recreate holiday lights, characters, and rich textures. You can also get out things like glitter, beads, clay, and more to really add some flair. This can be done in an afternoon or over a period of time (e.g., one day you use bigger brushes to paint walls and roofs, then follow up with thinner brushes and add details like snow and lights in the days that follow).
It can be fun to pick a theme, like basing your village on familiar parts of your own community or assigning out classics (e.g., “You make the General Store.”). However, please fight the urge to make this “aesthetic” or perfect. Stay in the moment and see how each child expresses themselves in this medium. The memory is more valuable than the product, and you can always make a new one next year if you enjoy the tradition and see how they progress.
-
Once your village is assembled, decorated, and dried, it’s time to put it on display!
You can display it classically on a shelf. However, you can also display on windowsills, baseboards, bathroom mirrors/counters, or other areas where your child can enjoy and appreciate the project in their eyeline.
Consider also letting your child have access to the village (i.e., within their reach) so they can play with it throughout the season, and maybe even bring other toys in.
Wreaths
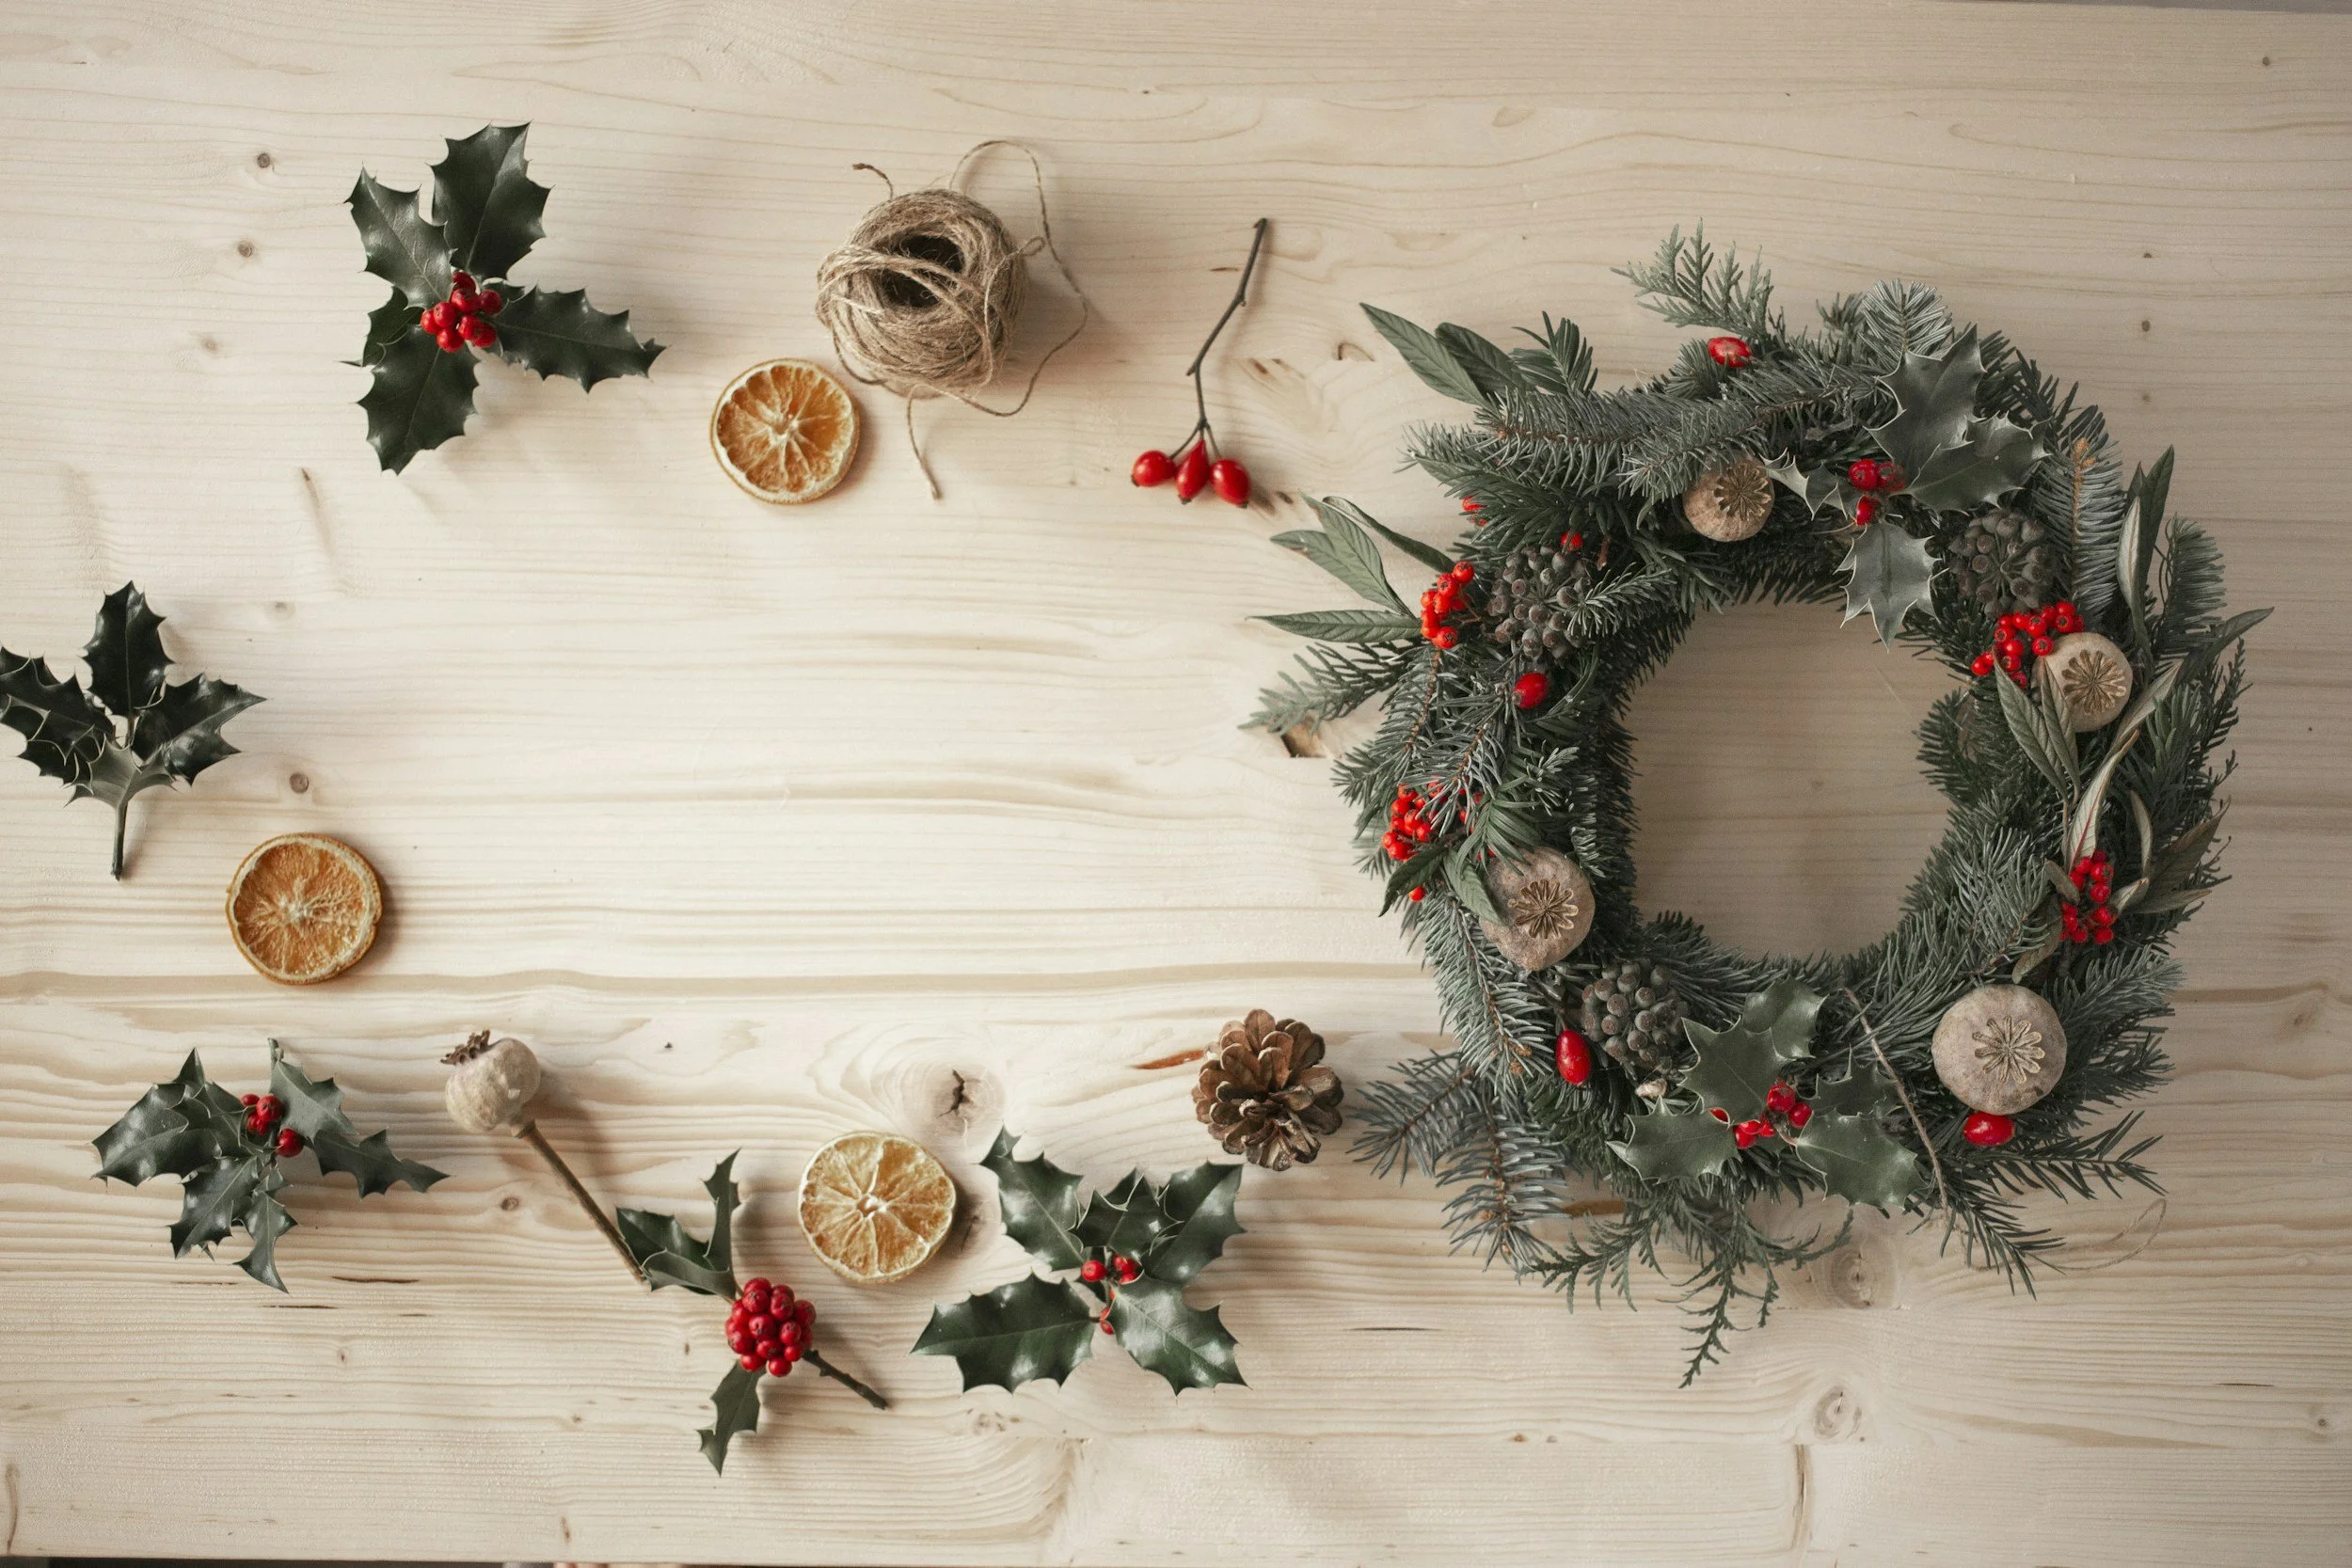
A wreath is decorated with evergreens, dried orange slices, pine cones, holly, and more.
A classic dating back to Ancient Rome, wreaths are a joyful way to decorate thresholds in our homes and classrooms. Though wreaths are typically created with natural, seasonal materials, we can also use modern craft supplies to give them some personality and pizazz.
-
Remember, you can make this as a keepsake or just as a low-stakes bit of fun for this year. Whatever you do, don’t stress yourself out trying to make it “perfect.” Let it be a reflection of how your child grew through it this year.
-
As stated above, wreaths have traditionally been made with natural, seasonal materials. Given this history, it can be great fun to do a sort of “scavenger hunt” outside for items that you can use to decorate your wreath like evergreens and pine cones. If you have a live Christmas tree, you can also trim some branches off to use for your wreath(s).
However, consider offering additional craft materials like yarn, paper, glitter, beads, ribbons, bells, and more. If you dried orange slices, you can offer some of those as well.
Make sure you have at least a few different materials available for the child to choose from so you have the wonderful privilege of seeing how they put them together. Place the items out on a workspace with glue, and make sure it is easy for each child to grab the materials they need when they need them. This helps foster independence and decision-making abilities for your little one.
-
Use the gathered items to decorate your wreath(s). Create a wreath together, or have each member of the family or classroom create one of their own. No matter your approach, again resist the urge to force the child to do it in a way that you think is “best” or “prettiest.”
Once your decorations have been glued on a wreath, it will need to sit and dry for a while until it’s ready to hang.
-
Once your wreath is complete and dry, it’s ready to hang! Tie a ribbon or warn in a loop around the top, or use wreath hooks.
Main doors of the home are great, but also consider letting the child hang it in a space that ‘belongs’ to them (e.g., a bedroom window or door).
Bringing It Together, Bringing Us Together

The sun shines over a forest of snow-covered evergreens.
Despite the fact that we are in the depths of the coldest and darkest part of the year, we know the days will only get longer from here, and once again we can trust the world will blossom into spring.
These simple crafts not only remind us of our humanity and the cycles of the Earth, but also the warmth we create when we move a bit slower and spend intentional time together. The orange garlands, holiday villages, and wreaths you make can also be shared with family, friends, and community members.
Each of the activities offered above take time, patience, presence, and togetherness to complete. As we make this time to decorate our homes and create warmth in winter, we can repurpose items we already have lying around to create magical holiday memories with our children.
“The light of love is always in us, no matter how cold the flame. It is always present, waiting for the spark to ignite, waiting for the heart to awaken and call us back to the first memory of being the life force inside a dark place waiting to be born—waiting to see the light.”